Page 147 - CITS - Fitter Trade Pactical - Volume - 2
P. 147
FITTER - CITS


           Taking Measurements:
           1  Lower the measuring foot: Use the slide mechanism, a rack and pinion system with a fine adjustment knob,
              to lower the measuring foot towards the object you want to measure.
           2  Reaching the reference point: Gently bring the measuring foot down until it just barely touches the surface
              referencing from (e.g., a flat surface on workpiece). Often hear a beep or see a change on the display to
              indicate contact.
           3  Reading the measurement: The current display value represents the distance between the measuring foot
              and the reference point established when zeroed the gauge.
           Advantages over Vernier Height Gauges:
           •  Easier to read: Digital display provides clear and unambiguous readings, eliminating the need to interpret
              vernier scales.

           •  Faster measurements: Digital readout allows for quicker measurements compared to vernier gauges.
           •  Data output: Some models can transmit data to computers for recording or analysis.
           •  Error reduction: Less prone to human error in reading vernier scales.
           Uses of digital height gauge:

           •  Measuring workpiece heights, thicknesses, and depths.
           •  Transferring reference heights for marking or machining operations.
           •  Checking parallelism and perpendicularity.
           •  Setting tool heights on machines like milling machines or drill presses.
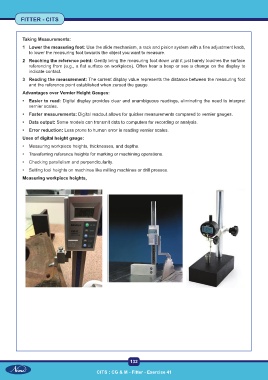
           Measuring workpiece heights,


                                                           132

                                            CITS : CG & M - Fitter - Exercise 41

