
Page 213 - CITS - CSA - TP (Volume 2) - Hindi
P. 213
कं ूटर सॉ वेयर ए ीके शन - CITS
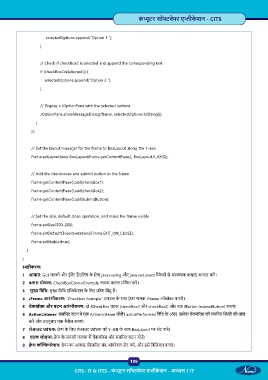
selectedOptions.append(“Option 1 “);
}
// Check if checkBox2 is selected and append the corresponding text
if (checkBox2.isSelected()) {
selectedOptions.append(“Option 2 “);
}
// Display a JOptionPane with the selected options
JOptionPane.showMessageDialog(frame, selectedOptions.toString());
}
});
// Set the layout manager for the frame to BoxLayout along the Y-axis
frame.setLayout(new BoxLayout(frame.getContentPane(), BoxLayout.Y_AXIS));
// Add the checkboxes and submit button to the frame
frame.getContentPane().add(checkBox1);
frame.getContentPane().add(checkBox2);
frame.getContentPane().add(submitButton);
// Set the size, default close operation, and make the frame visible
frame.setSize(300, 200);
frame.setDefaultCloseOperation(JFrame.EXIT_ON_CLOSE);
frame.setVisible(true);
}
}
ीकरण:
1 आयात: GUI घटकों और ईव ट ह डिलंग के िलए javax.swing और java.awt.event पैके जों से आव क क ाएं आयात कर ।
2 ास घोषणा: CheckBoxControlExample नामक ास घोिषत कर ।
3 मु िविध: मु िविध ए के शन के िलए वेश िबंदु है।
4 JFrame आरंभीकरण: “Checkbox Example” टाइटल के साथ े म नामक JFrame ऑ े बनाएँ ।
5 चेकबॉ और बटन आरंभीकरण: दो JCheckBox घटक (checkBox1 और checkBox2) और एक JButton (submitButton) बनाएं ।
6 ActionListener: सबिमट बटन म एक ActionListener जोड़ । actionPerformed िविध के अंदर, ेक चेकबॉ की चयिनत ित की जांच
कर और तदनुसार एक मैसेज बनाएं ।
7 लेआउट बंधक: े म के िलए लेआउट बंधक को Y-अ के साथ BoxLayout पर सेट कर ।
8 घटक जोड़ना: े म के साम ी फलक म चेकबॉ और सबिमट बटन जोड़ ।
9 े म कॉ फ़गरेशन: े म का आकार, िडफ़ॉ बंद ऑपरेशन सेट कर , और इसे िविज़बल बनाएं ।
199
CITS : IT & ITES - कं ूटर सॉ वेयर ए ीके शन - अ ास 117