Page 35 - CITS - Fitter Trade Practical - Volume -2
P. 35
FITTER - CITS


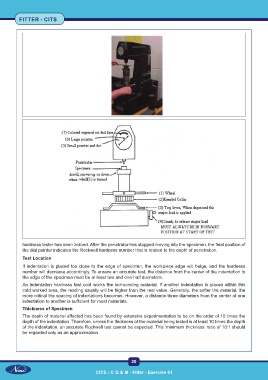
           hardness tester has been zeroed. After the penetrator has stopped moving into the specimen, the final position of
           the dial pointer indicates the Rockwell hardness number that is related to the depth of penetration.

           Test Location
           If indentation is placed too close to the edge of specimen, the workpiece edge will bulge, and the hardness
           number will decrease accordingly. To ensure an accurate test, the distance from the center of the indentation to
           the edge of the specimen must be at least two and one-half diameters.
           An indentation hardness test cold works the surrounding material. If another indentation is placed within this
           cold worked area, the reading usually will be higher than the real value. Generally, the softer the material, the
           more critical the spacing of indentations becomes. However, a distance three diameters from the center of one
           indentation to another is sufficient for most materials.
           Thickness of Specimen

           The depth of material affected has been found by extensive experimentation to be on the order of 10 times the
           depth of the indentation. Therefore, unless the thickness of the material being tested is at least 10 times the depth
           of the indentation, an accurate Rockwell test cannot be expected. This ‘minimum thickness’ ratio of 10:1 should
           be regarded only as an approximation.


                                                           20

                                            CITS : C G & M - Fitter - Exercise 61

