Page 323 - CITS - Welder - Trade Practical
P. 323
WELDER - CITS


           EXERCISE 93 : Set & Calibrate Ultrasonic Flaw detector


            Objectives

           At the end of this exercise, you will be able to
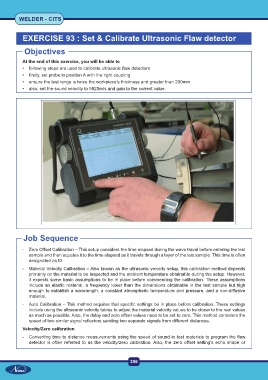
           •  following steps are used to calibrate ultrasonic flaw detectors
           •   firstly, set probe in position A with the right coupling
           •  ensure the test range is twice the workpiece’s thickness and greater than 200mm
           •  also, set the sound velocity to 5920m/s and gain to the correct value.


           Job Sequence

           -  Zero Offset Calibration – This setup considers the time elapsed during the wave travel before entering the test
              sample and then equates it to the time elapsed as it travels through a layer of the test sample. This time is often
              designated as t0.

           -  Material Velocity Calibration – Also known as the ultrasonic velocity setup, this calibration method depends
              primarily on the material to be inspected and the ambient temperature obtainable during the setup. However,
              it expects some basic assumptions to be in place before commencing the calibration. These assumptions
              include an elastic material, a frequency lower than the dimensions obtainable in the test sample but high
              enough to establish a wavelength, a constant atmospheric temperature and pressure, and a non-diffusive
              material.
           -  Auto Calibration – This method requires that specific settings be in place before calibration. These settings
              include using the ultrasonic velocity tables to adjust the material velocity values to be closer to the real values
              as much as possible. Also, the delay and zero offset values need to be set to zero. This method considers the
              speed of two similar signal reflectors sending two separate signals from different distances.
           Velocity/Zero calibration
           -  Converting time to distance measurements using the speed of sound in test materials to program the flaw
              detector  is  often  referred  to  as  the  velocity/zero  calibration. Also,  the  zero  offset  setting’s  echo  shape  or


                                                           306

