Page 235 - CITS - ED - Mechanical
P. 235
ENGINEERING DRAWING - CITS


            The B.I.S system of limits and fits -
            Reading the standard chart


           The standard chart covers sizes upto 500 mm (IS:919 of 1963) for both holes and shafts.  It specifies the upper
           and lower deviations for a certain range of sizes for all combinations of the 25 fundamental deviations and 18
           fundamental tolerances.
           The upper deviation of the hole is denoted as ES and the lower deviation of the hole is denoted as EI.  The upper
           deviation of the shaft is denoted as `es' and the lower deviation of shaft is denoted as `ei'.
              NOTE`es' is expanded ECART SUPERIOR and `ei' as ECART INFERIOR.
           Determining the limits from the chart
           Note whether it is an internal measurement or an external measurement.
           Note the basic size.

           Note the combination of the fundamental deviation and the grade of tolerance.
           Then refer to the chart and note the upper and lower deviations which are given in microns with the sign.  Accordingly
           add or subtract from the basic size and determine the limits of size of the components.

           Example
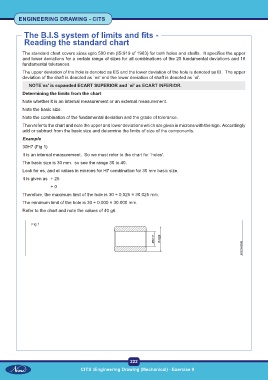
           30H7 (Fig 1)
           It is an internal measurement.  So we must refer to the chart for `holes'.
           The basic size is 30 mm.  so see the range 30 to 40.
           Look for es, and ei values in microns for H7 combination for 30 mm basic size.

           It is given as  + 25
                        + 0
           Therefore, the maximum limit of the hole is 30 + 0.025 = 30.025 mm.
           The minimum limit of the hole is 30 + 0.000 = 30.000 mm.
           Refer to the chart and note the values of 40 g6.


               Fig 1


                                                           222
                                     CITS :Engineering Drawing (Mechanical) - Exercise 9

